
Hello everyone! It's been a long, long time since I last posted a recipe. That was because I haven't been cooking for a while, ha ha. What have I been eating then if I wasn't cooking? Well, my brother and his wife have been doing the cooking lately and I have been enjoying their food.

Two weeks ago today though, they were finally able to go back home after months of being stuck here while we were on lock down. And since I have also been enjoying homemade bread while they were here, I decided to make it this time around.

I like to prepare all my ingredients beforehand for a smooth flow of baking. This recipe calls for the simplest of ingredients. You would need 2 cups of warm water, 1/4 white sugar, 1 1/2 tbsp active dry yeast, 1 1/2 tsp salt, 1/4 cup vegetable oil, and 5-6 cups bread flour.

We begin by dissolving the sugar in the warm water. Then stir in your yeast and allow it to proof. Proofing means activating your yeast.

Make sure that the water is warm and not too hot. If it is too hot, you end up 'killing' the yeast, and it will not proof. Proofing is done when it resembles a creamy foam like this, about 5 minutes. Mix the salt and oil into the yeast mixture, and start adding and mixing in your bread flour, 1 cup at a time.

Your dough should look like this after. I used a wooden spatula to mix the ingredients. You then start kneading the dough in a surface sprinkled with some flour. Knead the dough for 7 minutes.I set the timer on my phone so I know when the time is up.

When the kneading is done, transfer your dough into the bowl, but make sure you oil it first and then coat your dough with the oil.

Cover the bowl with a damp cloth and allow the dough to rise until it has doubled in size, about 1 hour. Note that the weather may affect the rising time. If the weather is warm, it may be faster, and longer of course if it cold. You can take a peek half time to check.

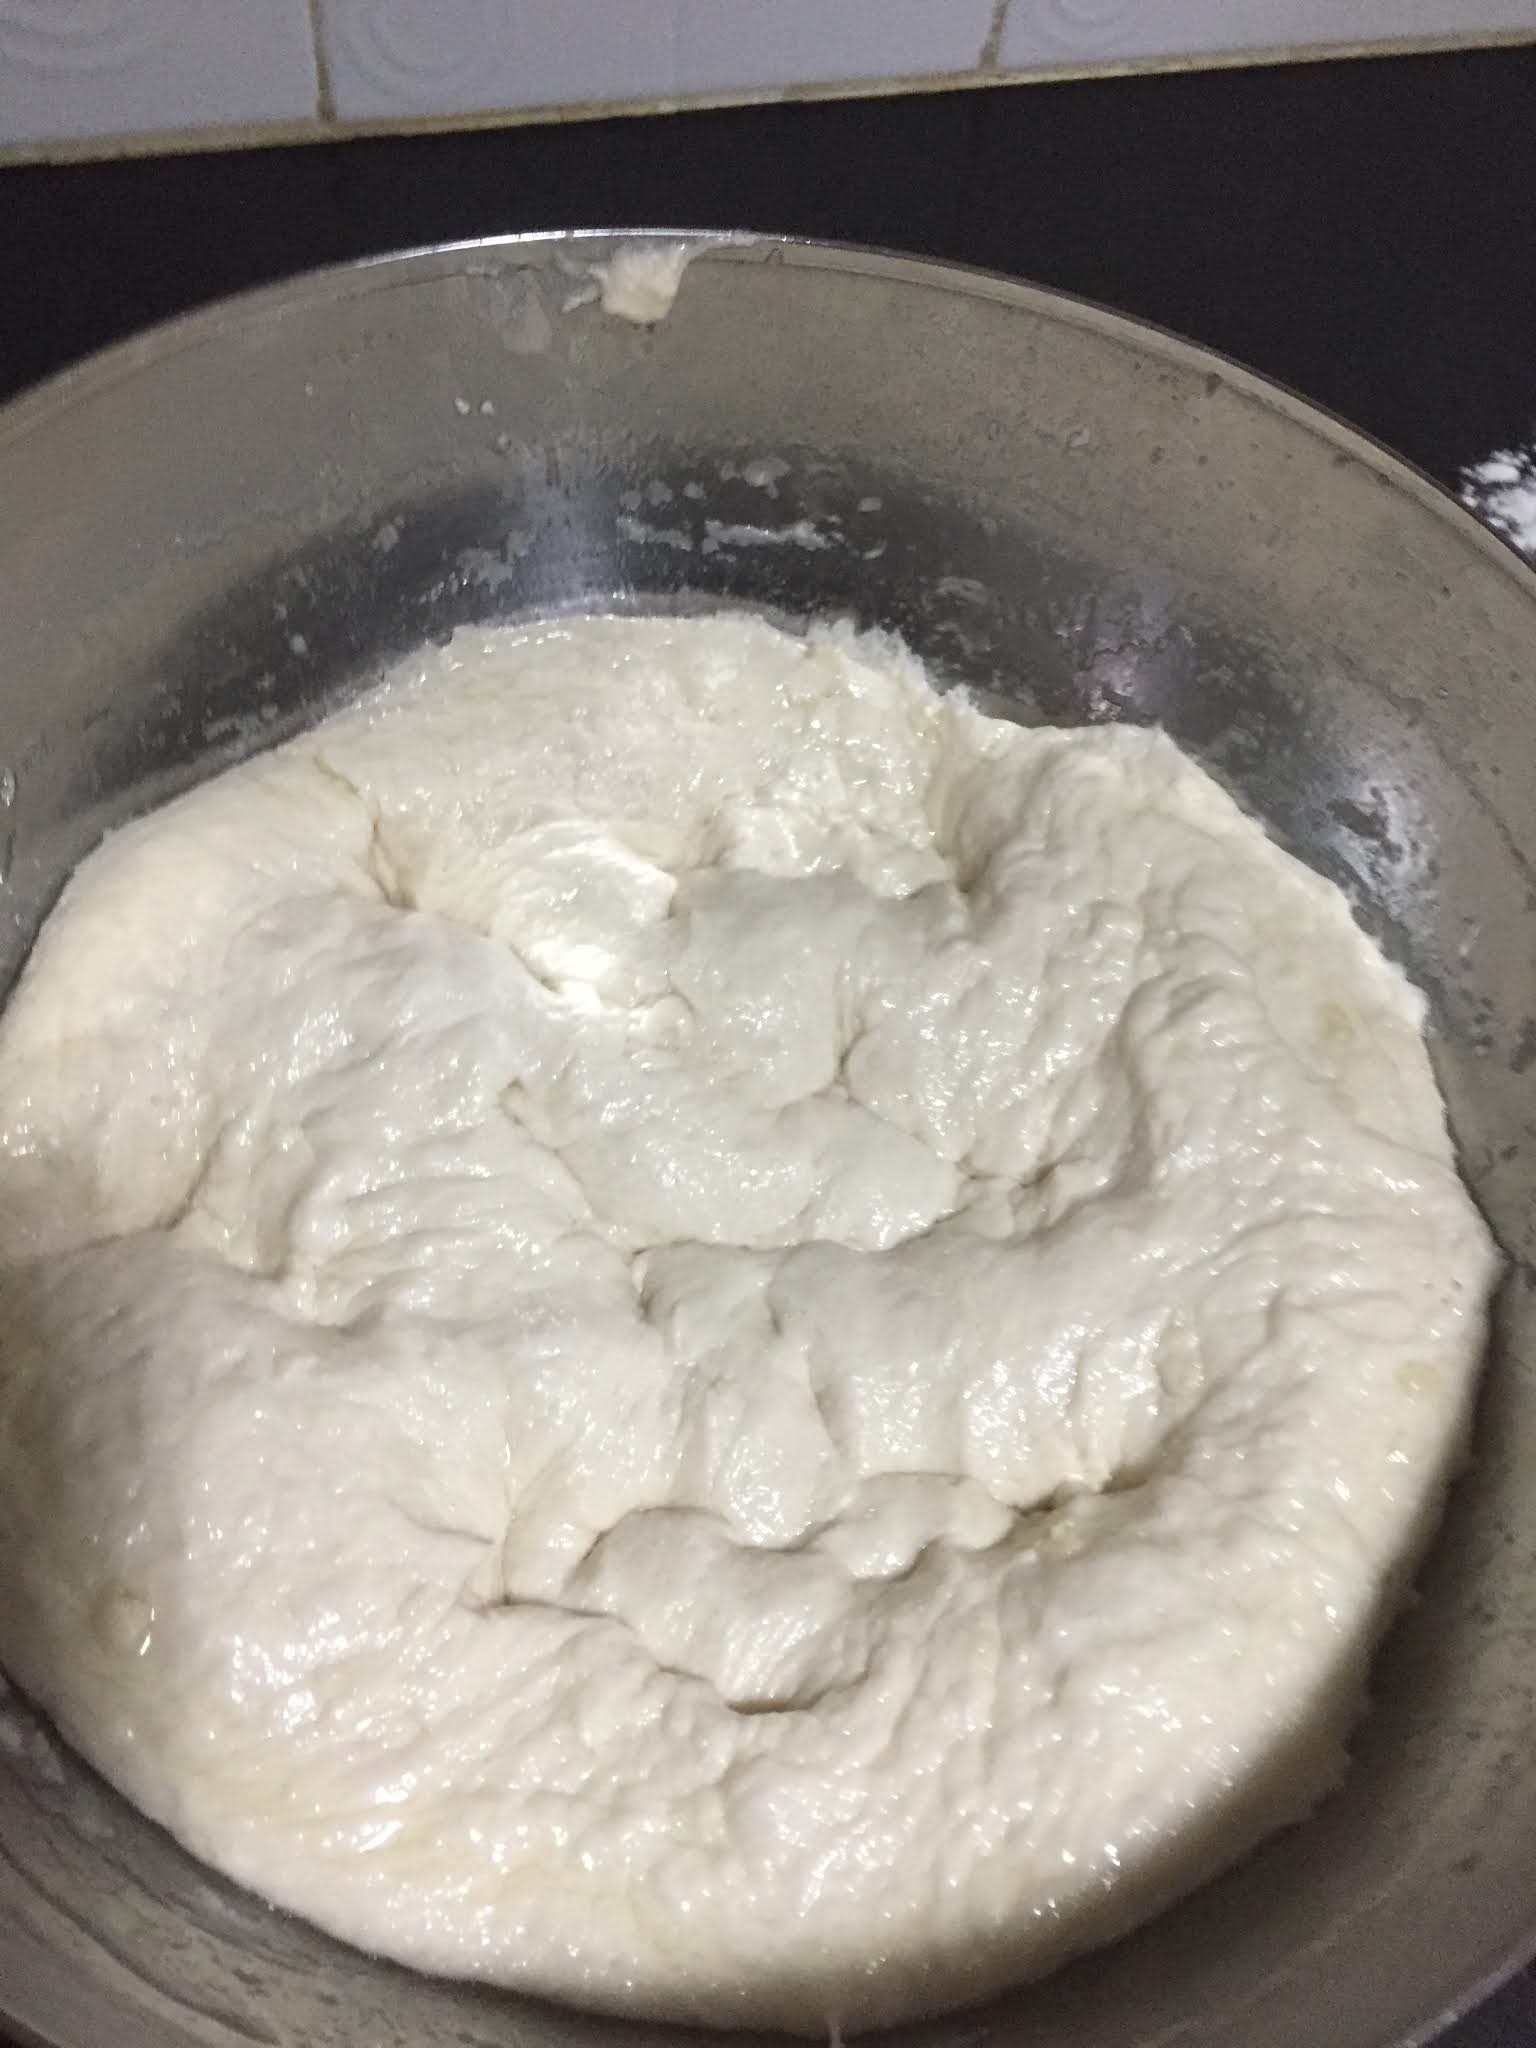
Voila! This is what it looks like after it has risen. This, my friends, is the miracle of yeast doing its job. 1 1/2 tablespoon made the dough as big as this!
Punch down the dough. And yes, I mean literally punch it. The purpose of punching it is to get rid of any air trapped, hence reducing holes in the bread.

Knead the dough for about a minute and cut it into 2. Roughly form it into a shape and put it in a baking tray. If you have loaf pans, you can use them, but if not, you can just use a baking tray like I did. Cover the tray with the damp towel and allow the dough to rise for the second time, around 30 minutes. Fifteen minutes into the second rise, you may want to heat your oven. Set it at 170 degrees.

When the 30 minutes is over, take the towel off, sprinkle the dough with some flour for the crust, and make some a few scores on the surface with a knife. Bake it for 30-40 minutes. Tada! Not bad for a first timer, don't you think? I could have divided the dough into 3 as well, but I had 2 big pieces of bread.

I had this for lunch. I spread butter and sliced avocados and it was so delicious! My sister stopped by to drop off things I asked her to buy for me and I gave her the rest of the loaf above. She said it was yummy! This bread can be stored in the freezer. Just make sure you slice it first before you freeze it so you can just toast what you need.
Note: As a variation, you may want to add your favorite seeds or nuts, be it chia seeds, flax seeds, sunflower seeds, or any nut you prefer.
What are you waiting for? Get baking as well! I would have started making breads long, long time ago if I knew it was this easy. Have fun like I did! You can also check out my other recipes at this page.
This is great. Will do this soon.
ReplyDeleteThank you @Moms Best Time! Yes, it's very easy to make! And as a variation you may want to add chia seeds, flax seed or even nuts! :-)
DeleteThis is great. Will do this soon.
ReplyDelete